When my son was a preschooler, it seemed that every errand came with a sticker (or two or three) -- the doctor's office, the dentist, the grocery store.... I was forever cleaning off wrinkled, dog-earred, haphazard stickers plastered on the rear car windows. Even at a young age, my son liked to collect things, so saving stickers in an album was a good solution. Unfortunately, most commercial sticker albums are designed for grade-school girls. Thus we made a gender-neutral one sturdy enough for a toddler and that could expand over time.
To make a sticker album, you'll need:
- A sturdy 3-ring binder
- Clear (not frosted or nonglare) heavyweight sheet protectors (plastic sleeves for 3-ring binders)
- 8.5 x 11-inch paper to go inside the sheet protectors
- Clear tape (optional)
The trick to the sticker album is to go with heavy duty materials. For the binder, we used a D-ring album with one-inch spine and 275 sheet capacity. I found one labeled that it was sturdy enough for daily use. Similarly, we use sheet protectors that are at least 3.3 mil (.084 mm). This thick plastic will wear well as stickers are moved and reused.
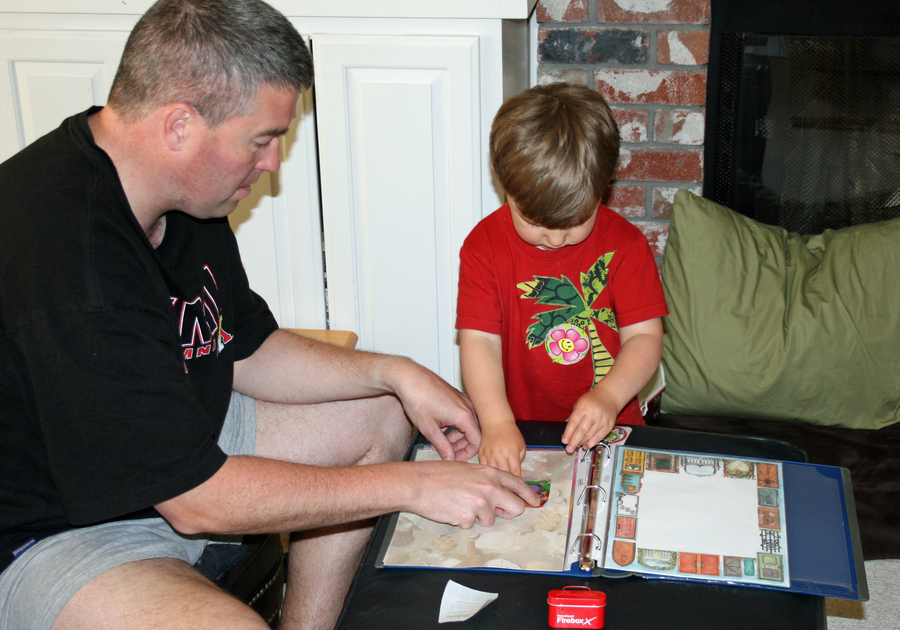
Putting together the album is as simple as sliding paper into the plastic sleeves and placing them in the binder. We used decorated papers from the office supply store or colored card stock. I started my son's album with ten pages but now that he's a second grader, we've expanded it to well over a hundred pages. You can seal the pages at the top with tape if you think your child might pull the paper out, but even tipped upside down the paper usually will not slide out by accident.
Extra details:
- Leave at least a few of the sheet protectors open so you can use them as pockets for stickers that still have a backing. My son tends to squirrel unused stickers away for months and then spend an afternoon sticking them and rearranging them.
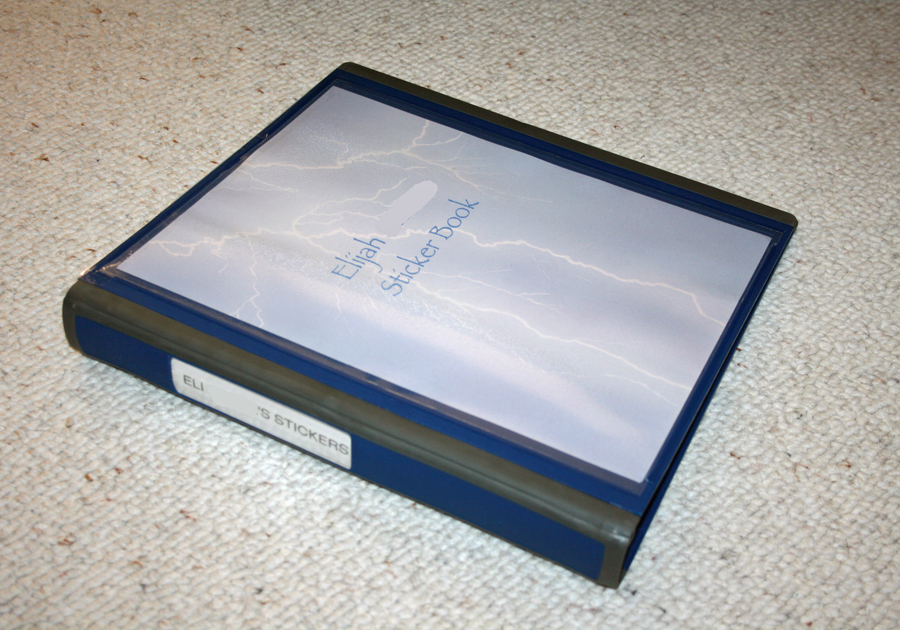
- Some binders have a clear plastic window on the front so you can personalize the cover. (Note -- In the photo with this article you can see the lightning bolt paper my son picked for the cover. The blank spots are where I photoshopped out my child's last name for safety reasons.)
The sticker album worked like a charm for us. I never again scraped stickers off the car windows! (To see the original article I wrote about creating our sticker album, complete with buying details and more photos, click HERE.)